You have a product idea. You need to build it fast. Traditional development takes months—you don't have months.
Here's how to ship a fully functional MVP in 4 weeks as a solo developer, using AI as your execution engine.
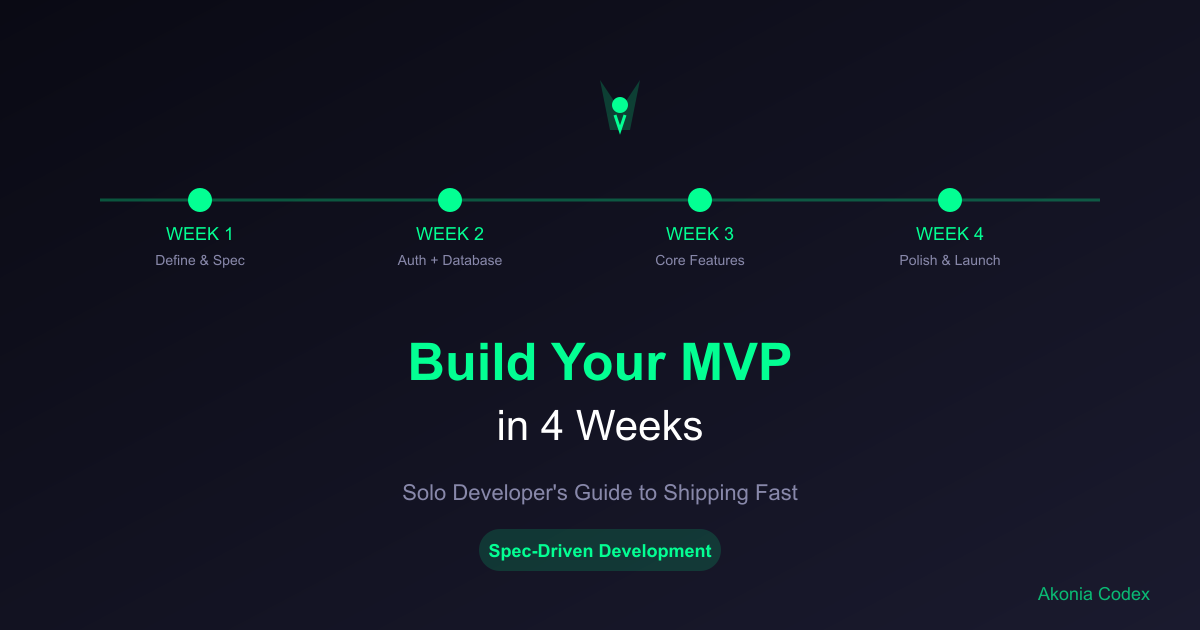
The 4-Week MVP Timeline
This isn't about cutting corners. It's about leveraging spec-driven development to make a single developer as productive as a 3-person team.
Week 1: Define and spec your core features
Week 2: Build your authentication and data models
Week 3: Implement core functionality
Week 4: Polish, test, and deploy
Week 1: Define Your MVP
Most failed MVPs fail before coding starts—because the requirements aren't clear.
Day 1-2: Write Your Spec Sheet
Don't start coding. Start writing specifications.
# MVP Spec: [Your App Name]

## Core Problem
[What problem are you solving?]

## Target Users
[Who is this for?]

## Core Features (Must-Have)
1. User authentication
2. [Feature 2]
3. [Feature 3]

## Technical Stack
- Frontend: React/Next.js
- Backend: Node.js/Express
- Database: PostgreSQL
- Auth: JWT tokens
- Hosting: Vercel + Railway

## Success Metrics
- [What defines a successful launch?]
Write specs for each feature. Be specific about inputs, outputs, edge cases, and user flows.
Day 3-4: Design Database Schema
Map out your data relationships before you build them.
// Example: User Management System
// users table
{
  id: UUID PRIMARY KEY,
  email: VARCHAR(255) UNIQUE,
  password_hash: VARCHAR(255),
  created_at: TIMESTAMP,
  updated_at: TIMESTAMP
}

// sessions table
{
  id: UUID PRIMARY KEY,
  user_id: UUID REFERENCES users(id),
  token: VARCHAR(255),
  expires_at: TIMESTAMP
}
Day 5-7: Create UI Mockups
Use a tool like Figma or even paper. Define:
- Layout structure
- User flows
- Component hierarchy
- Mobile responsiveness
Week 2: Foundation (Auth + Database)
Day 8-10: Authentication System
Build it once, build it right.
// Spec: User Registration
import bcrypt from 'bcrypt';
import jwt from 'jsonwebtoken';

async function registerUser(email, password) {
  // Validate input
  if (!email || !password) {
    throw new Error('Email and password required');
  }

  // Check if user exists
  const existingUser = await db.users.findByEmail(email);
  if (existingUser) {
    throw new Error('User already exists');
  }

  // Hash password
  const passwordHash = await bcrypt.hash(password, 10);

  // Create user
  const user = await db.users.create({
    email,
    passwordHash
  });

  return user;
}

async function loginUser(email, password) {
  const user = await db.users.findByEmail(email);
  if (!user) {
    throw new Error('Invalid credentials');
  }

  const isValid = await bcrypt.compare(password, user.passwordHash);
  if (!isValid) {
    throw new Error('Invalid credentials');
  }

  const token = jwt.sign(
    { userId: user.id },
    process.env.JWT_SECRET,
    { expiresIn: '7d' }
  );

  return { token, user };
}
Day 11-14: Database Models and API
Set up your database and basic CRUD operations.
// Example: Task Management App
class TaskModel {
  async create(userId, data) {
    return await db.tasks.insert({
      userId,
      title: data.title,
      description: data.description,
      status: 'pending',
      priority: data.priority || 'medium',
      createdAt: new Date()
    });
  }

  async findByUserId(userId) {
    return await db.tasks.findMany({ userId });
  }

  async update(taskId, userId, data) {
    return await db.tasks.update({
      id: taskId,
      userId
    }, data);
  }

  async delete(taskId, userId) {
    return await db.tasks.delete({
      id: taskId,
      userId
    });
  }
}
Week 3: Core Features
This is where spec-driven development shines. You've already spec'd everything—now just build it.
Day 15-17: Main Feature Implementation
For each feature, follow your spec exactly.
// Spec: Task Creation Feature
// Input: title (string), description (string), priority (enum)
// Output: created task object
// Edge cases: empty title, invalid priority, max description length

async function createTask(userId, taskData) {
  // Validate input per spec
  if (!taskData.title || taskData.title.trim().length === 0) {
    throw new Error('Title is required');
  }

  if (taskData.title.length > 100) {
    throw new Error('Title must be 100 characters or less');
  }

  if (!['low', 'medium', 'high'].includes(taskData.priority)) {
    throw new Error('Invalid priority level');
  }

  // Create task following spec
  return await TaskModel.create(userId, {
    title: taskData.title.trim(),
    description: taskData.description?.substring(0, 500),
    priority: taskData.priority
  });
}
Day 18-21: Frontend Components
Build UI components that match your mockups.
// Spec: Task Card Component
// Displays: title, description, status, priority
// Actions: edit button, delete button, status toggle
function TaskCard({ task, onEdit, onDelete, onToggleStatus }) {
  const priorityColors = {
    low: 'bg-blue-500',
    medium: 'bg-yellow-500',
    high: 'bg-red-500'
  };

  return (
    <div className="bg-white rounded-lg shadow p-4">
      <div className="flex items-start justify-between">
        <div className="flex-1">
          <h3 className="font-semibold">{task.title}</h3>
          {task.description && (
            <p className="text-gray-600 mt-1">{task.description}</p>
          )}
        </div>
        <span className={`px-2 py-1 rounded text-white ${priorityColors[task.priority]}`}>
          {task.priority}
        </span>
      </div>

      <div className="mt-4 flex justify-end gap-2">
        <button onClick={() => onToggleStatus(task.id)}>
          {task.status === 'pending' ? 'Complete' : 'Reopen'}
        </button>
        <button onClick={() => onEdit(task.id)}>Edit</button>
        <button onClick={() => onDelete(task.id)}>Delete</button>
      </div>
    </div>
  );
}
Week 4: Polish and Launch
Day 22-24: Integration Testing
Test your complete user flows.
// Test Spec: User Journey
describe('User Task Management Journey', () => {
  it('should allow user to create, view, update, and delete tasks', async () => {
    // Register and login
    const user = await registerUser('[email protected]', 'password123');
    const loginResult = await loginUser('[email protected]', 'password123');

    // Create task
    const task = await createTask(user.id, {
      title: 'Test Task',
      description: 'Test Description',
      priority: 'high'
    });

    expect(task.title).toBe('Test Task');

    // View tasks
    const tasks = await TaskModel.findByUserId(user.id);
    expect(tasks).toHaveLength(1);

    // Update task
    await TaskModel.update(task.id, user.id, {
      status: 'completed'
    });

    // Delete task
    await TaskModel.delete(task.id, user.id);
    const remainingTasks = await TaskModel.findByUserId(user.id);
    expect(remainingTasks).toHaveLength(0);
  });
});
Day 25-26: Styling and UX Polish
Apply your design system and ensure mobile responsiveness.
/* Mobile-first responsive design */
.task-card {
  @apply bg-white rounded-lg shadow p-4;
}

@media (min-width: 768px) {
  .task-card {
    @apply p-6;
  }
}

.task-actions {
  @apply flex flex-col gap-2 mt-4;
}

@media (min-width: 640px) {
  .task-actions {
    @apply flex-row justify-end;
  }
}
Day 27-28: Deployment Setup
Use services that handle infrastructure for you.
# Deploy frontend to Vercel
npm run build
vercel --prod

# Deploy backend to Railway
railway up

# Set environment variables
railway variables set JWT_SECRET=your-secret-key
railway variables set DATABASE_URL=your-database-url
Day 29-30: Launch Preparation
Before launch, verify:
- ✅ All user flows work end-to-end
- ✅ Forms validate input properly
- ✅ Error messages are helpful
- ✅ Mobile experience is smooth
- ✅ Load times are under 3 seconds
- ✅ SEO basics are covered (meta tags, sitemap)
Why This Works: Spec-Driven Development
Traditional development cycles through:
- Write requirements
- Build features
- Test features
- Debug features
- Repeat (because features don't match requirements)
Spec-driven development:
- Write detailed specs
- AI builds features to spec
- Test features
- Launch
The difference? AI follows specs literally. When you write clear specifications, AI generates code that matches your requirements—no back-and-forth, no debugging mismatches.
Using AI Tools Effectively
Don't paste requirements into ChatGPT and hope for the best. Use spec-driven prompts:
# Build this feature to specification

Feature: User Registration
Spec:
- Input: email (string, valid format), password (string, min 8 chars)
- Output: user object with id, email, createdAt
- Validation: email format, password strength, duplicate email check
- Storage: users table with hashed passwords
- Error handling: specific error messages for each validation failure

Generate production-ready code following this spec exactly.
This approach works with Cursor AI, GitHub Copilot, or any AI coding tool.
Real Results: Solo Developer = 3-Person Team
Without spec-driven development, a solo developer spends:
- 20% writing code
- 40% debugging
- 30% clarifying requirements
- 10% testing
With spec-driven development:
- 40% writing specs
- 30% reviewing AI-generated code
- 20% testing
- 10% debugging
You spend more time designing and less time fixing mistakes.
Common MVP Mistakes to Avoid
1. Building Too Many Features
Focus on 3 core features. Everything else is a distraction.
2. Skipping Specs
"Figure it out as we code" guarantees rework. Write specs first.
3. Perfectionism
Ship features that work. Polish comes after launch.
4. Ignoring Mobile
Your MVP will be used on phones. Make it mobile-responsive.
5. No Launch Plan
Building isn't enough. Have a marketing plan ready.
Tools That Accelerate Development
Use tools that handle infrastructure so you can focus on product:
Authentication: Clerk, Supabase Auth, Auth0
Database: Supabase, PlanetScale, PostgreSQL
Frontend: Next.js, React, Tailwind CSS
Backend: Node.js, Express, Fastify
Hosting: Vercel, Railway, Netlify
AI Tools: Cursor AI, GitHub Copilot (with spec-driven prompts)
When to Hire vs. Build Solo
Build solo if:
- You have technical skills
- MVP is straightforward
- Timeline is 4-8 weeks
- Budget is limited
Hire if:
- You lack technical skills
- MVP requires specialized knowledge
- Timeline is aggressive (<4 weeks)
- You have budget
Launch Your MVP in 4 Weeks
Building an MVP in 4 weeks isn't about working harder—it's about working smarter with spec-driven development.
Write clear specs. Use AI to generate code. Focus on 3 core features. Launch. Then iterate.
Want to Master Spec-Driven MVP Development?
Our Spec-Driven Development Masterclass teaches you the complete workflow:
- How to write specs that AI follows precisely
- Using Cursor AI and Copilot effectively
- Building production-ready features fast
- Debugging AI-generated code
- Shipping MVPs that work
Next step: Join our masterclass and learn to build software 4-6x faster with spec-driven development.
#MVP development#solo developer#spec-driven development#AI development#startup#product development#BMAD
Share this article
Stay Updated
Get the latest development tips delivered to your inbox.